
Tracking Your Own Time: Setting Up as a Freelancer
This is for anyone who works alone and wants a record of their own hours that a client can look at: freelancers, contractors, virtual assistants. You need one SCREENish account, and the startup wizard turns it into a working setup in a few minutes. Two things to keep apart from the start: your dashboard login is the address you sign up with, and your tracking login is a second address that only the tracking app uses.
1. Sign up as an employer
Sign up on screenish.com as an employer with your usual e-mail address, confirm it from the letter we send, and sign in. The wizard opens by itself on your first visit.
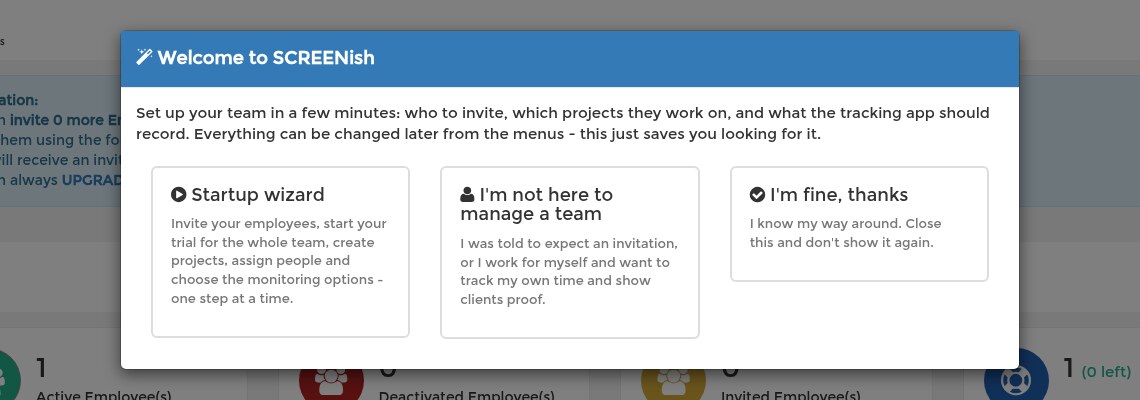
2. Pick "I'm not here to manage a team"
The welcome screen offers three cards. The middle one is yours.
3. One quick question
The wizard first asks whether an employer or a client told you they would invite you to SCREENish.
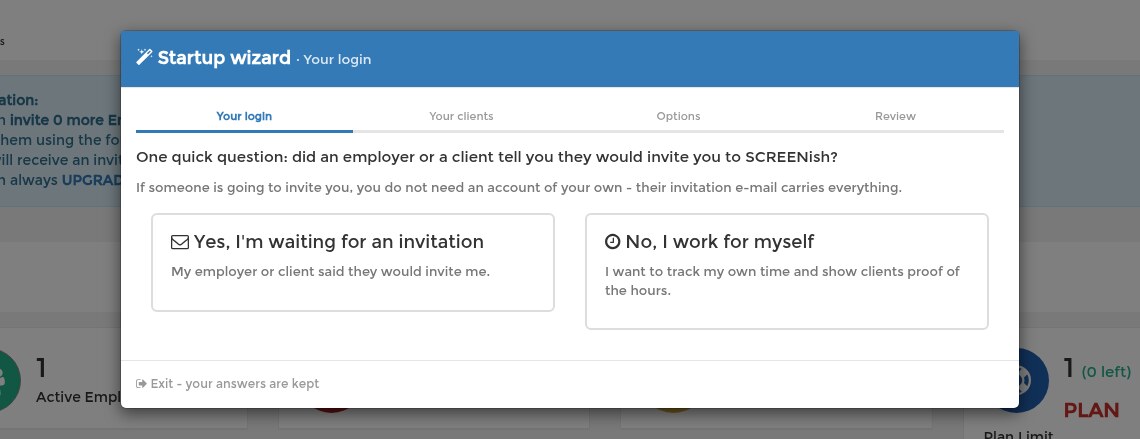
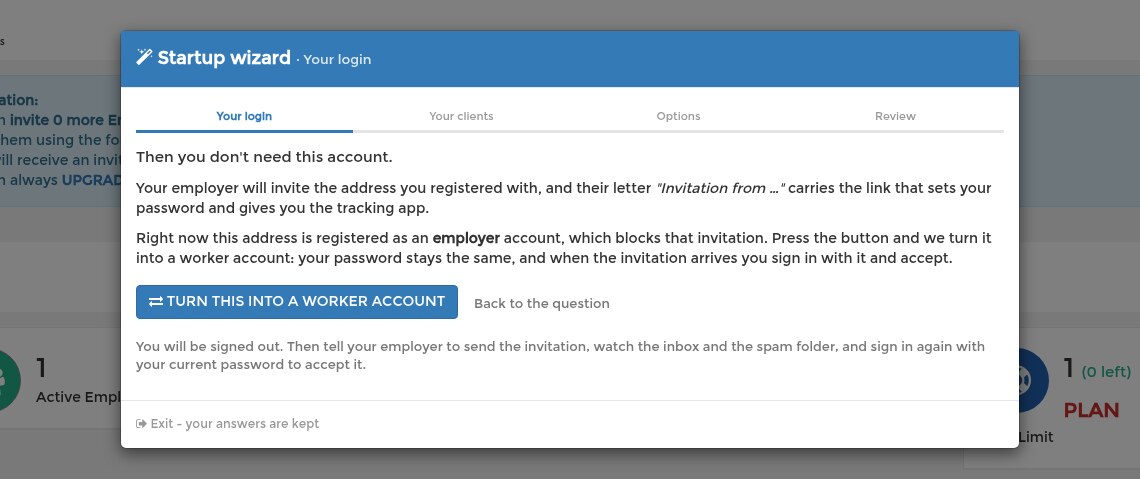
If somebody is going to invite you, answer Yes. You do not need an account of your own: their invitation e-mail carries everything. The wizard explains that the account you just made is an employer account, which would block that invitation, and offers to turn it into a worker account. Press the button, you are signed out, and when the invitation arrives you sign in with the same password and accept it.
If you work for yourself, answer No and carry on.
4. A second e-mail address for the app
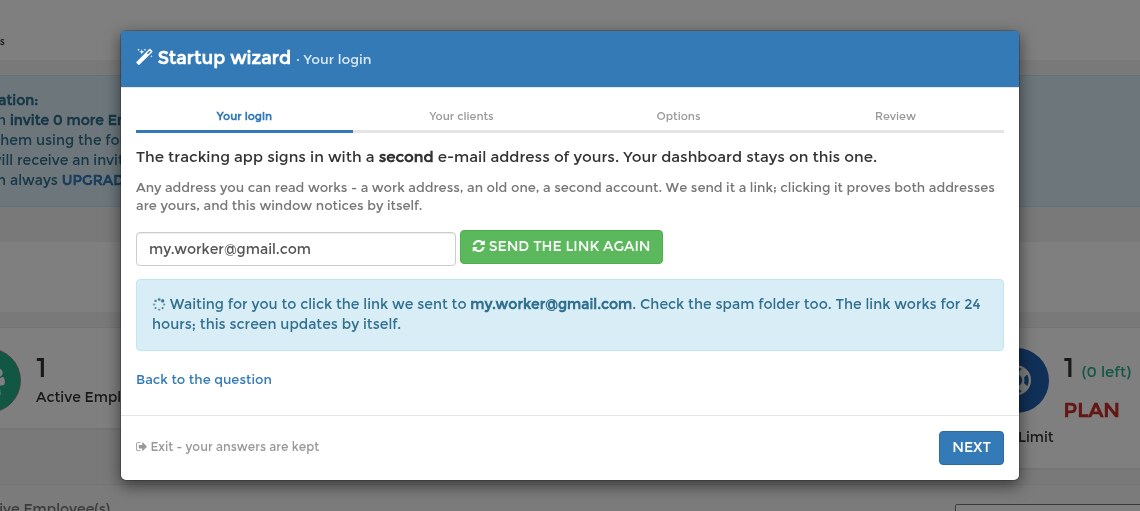
The tracking app signs in with a second address of yours. Any address you can read works: a work address, an old one, a second account. Type it and press Send the link.
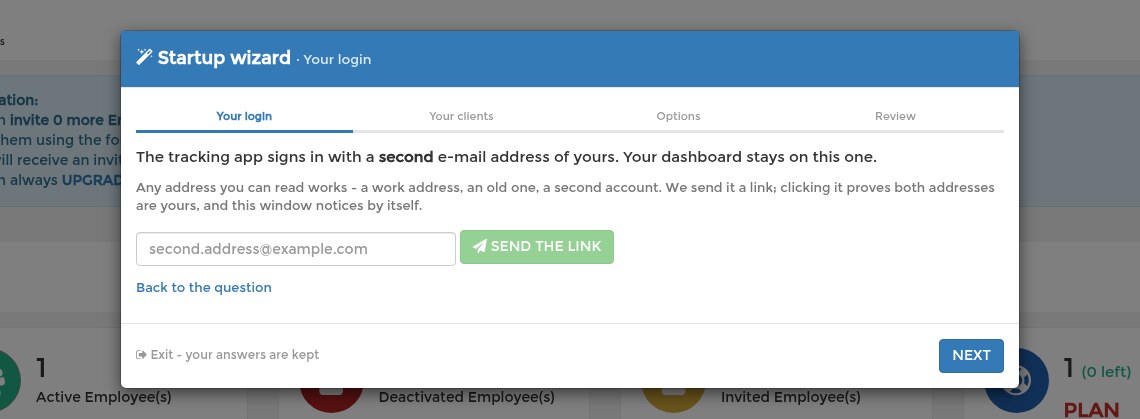
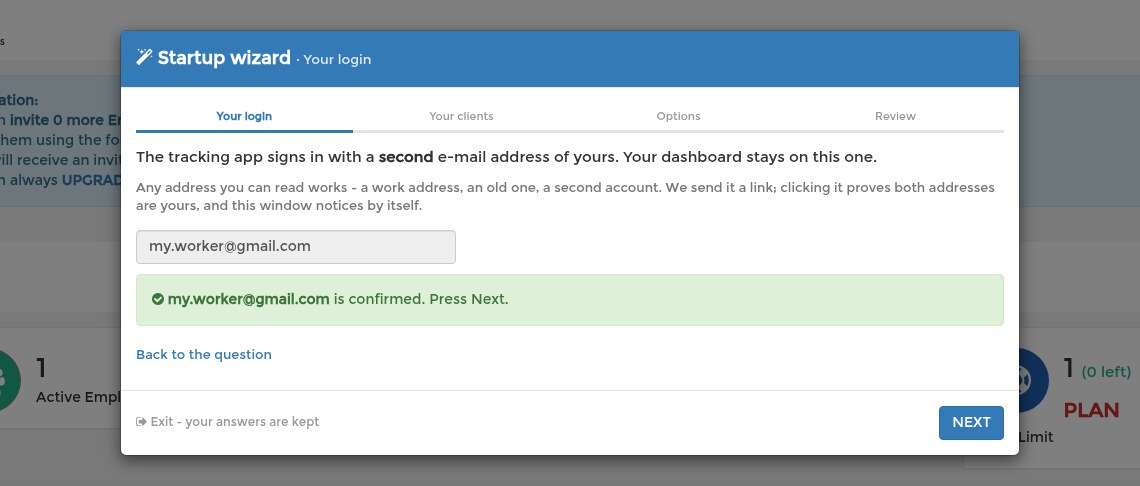
We send that address a letter with one link. Clicking it proves that both addresses are yours; nothing else happens. The wizard window notices the click by itself, so you can open the letter on your phone and just come back. The link works for 24 hours, and there is a button to send a fresh one.
5. Your clients
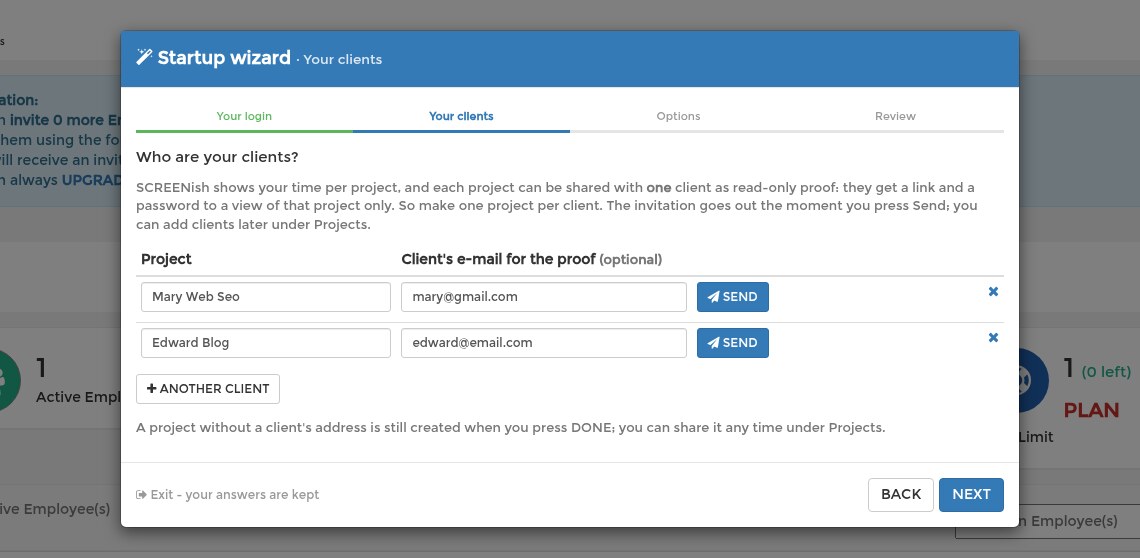
SCREENish shows your time per project, and each project can be shared with one client as read-only proof. So make one project per client. The client's address is optional; when you press Send, the project is created at once and the client gets an e-mail with a link and a password to a view of that project and nothing else.
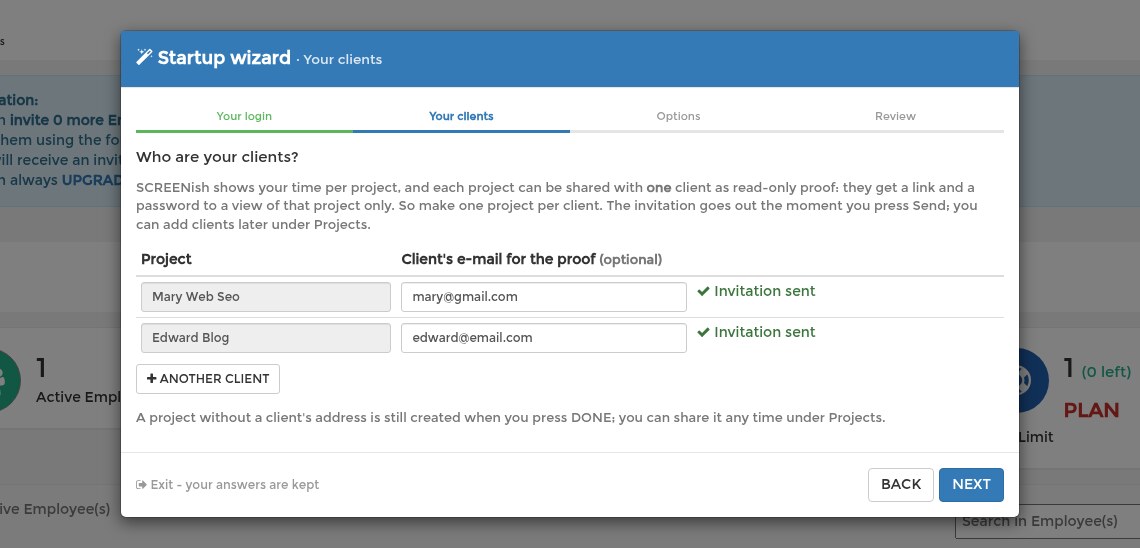
A project without a client's address is still created at the end. You can share it, re-send an invitation or make a project private at any time under Projects.
6. What the app records
Eight short questions, each with the default already set. They decide what the app records about your own work, and therefore what your clients can see. Everything can be changed later under Projects.
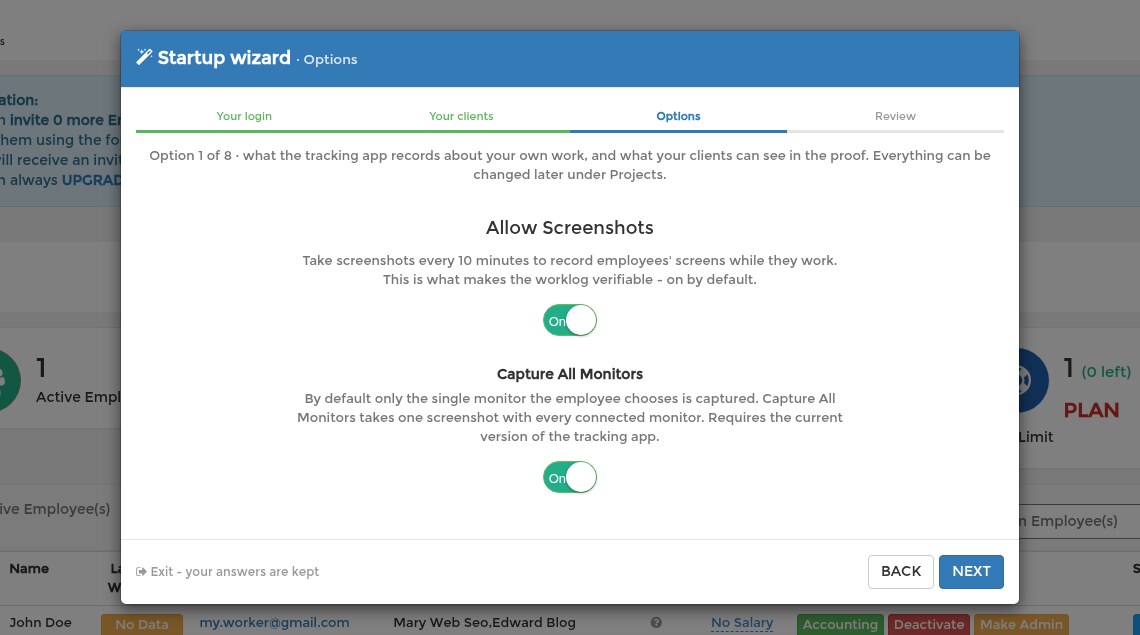
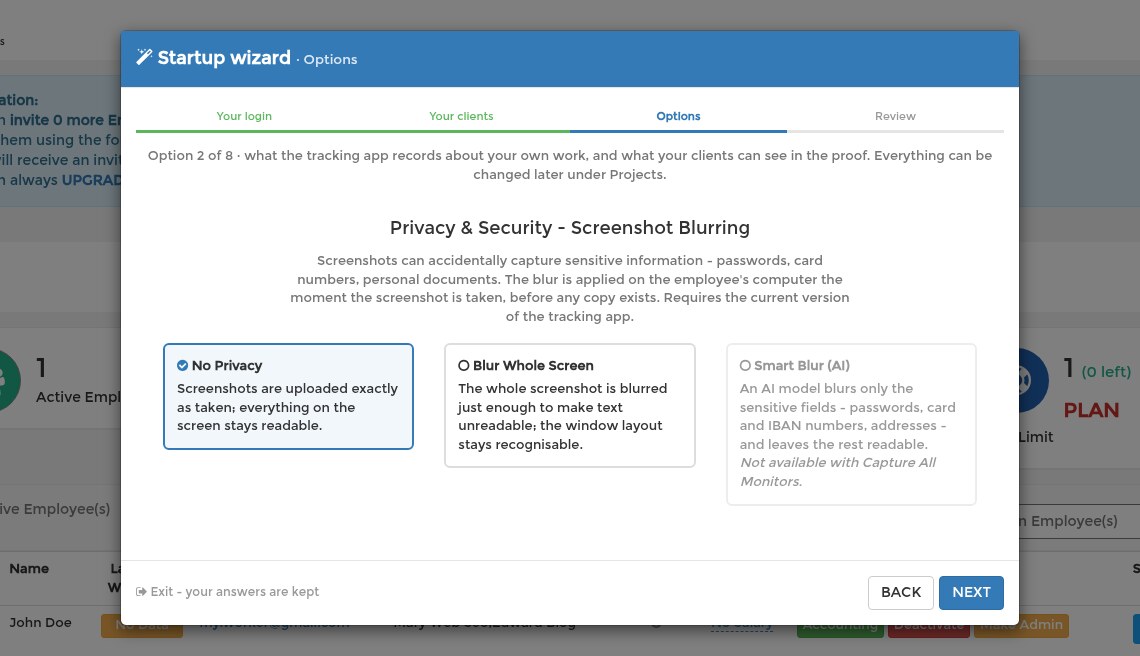
Screenshots every ten minutes are what make the record verifiable; they are on by default, and you can capture all monitors or just one. Blurring is worth a thought when your screen carries other people's data: the whole screen can be blurred just enough to make text unreadable, or an AI model can blur only sensitive fields.
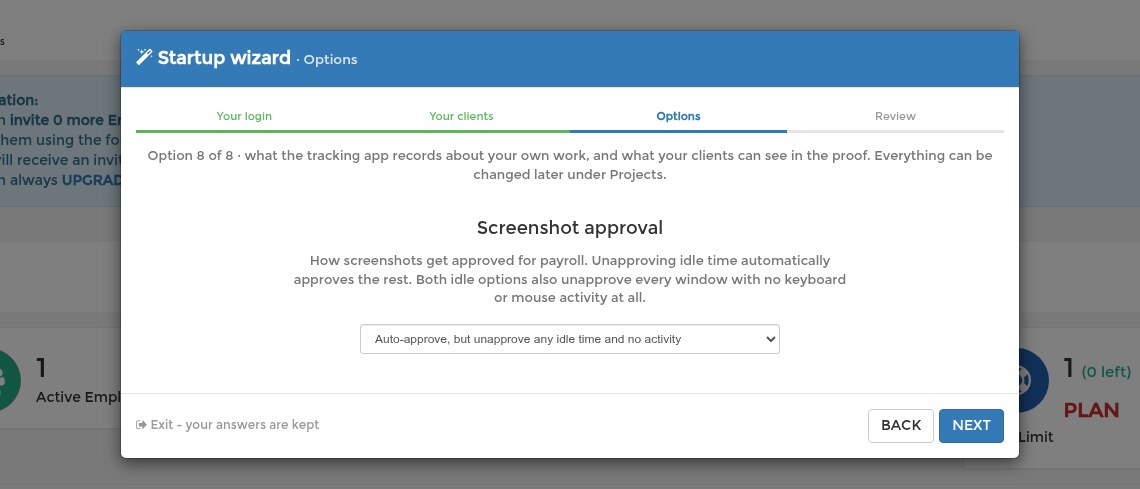
Then program reports (which programs and window titles were in use), idle time reports, manual time for work done away from the computer, PC or phone (the Android app records GPS instead of screenshots), and a weekly limit if you want one. The last question is how screenshots get approved; for someone reviewing their own work, auto-approve is the sensible answer.
7. Review and a password for the app
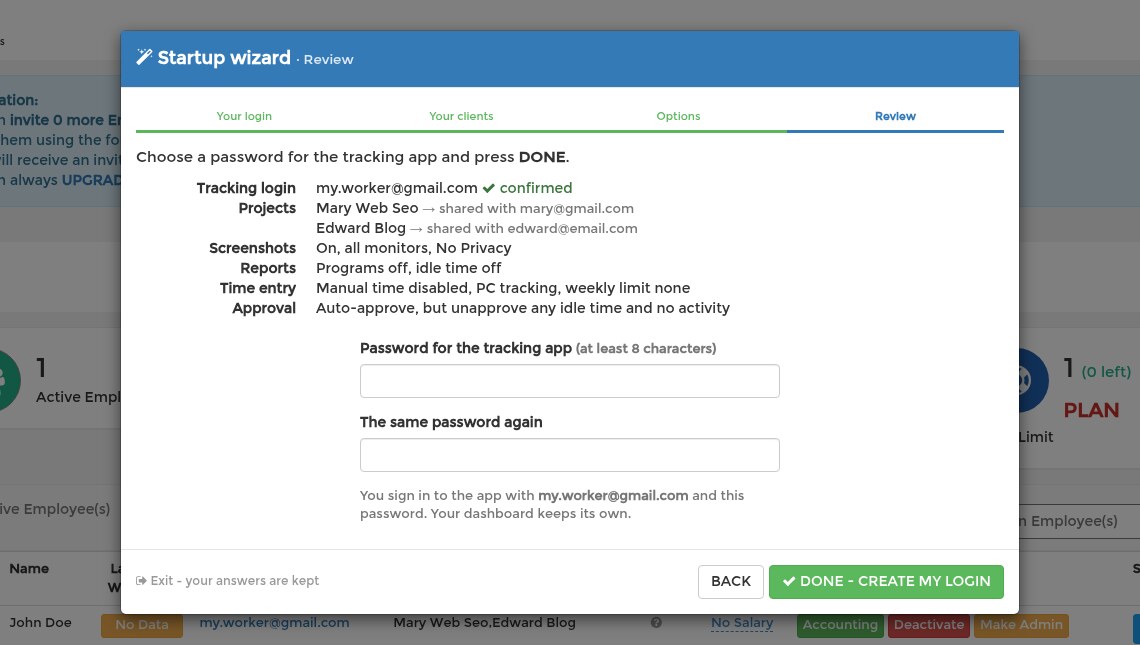
The review lists everything. Choose a password for the tracking app (at least 8 characters) and press DONE. This is the password you will type into the app together with the second address; your dashboard keeps its own.
8. Download the app
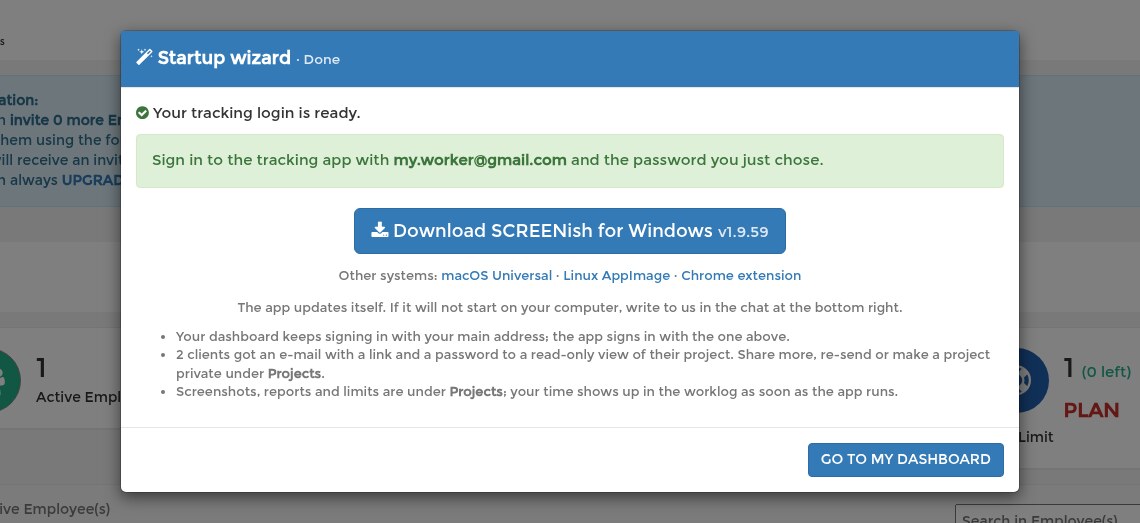
The last screen shows your tracking login and one download button for the system your browser runs on; the other systems are a small line underneath. The app updates itself. If your computer runs an older system and the app will not start, write to us in the chat at the bottom right and we will send you a build that does.
What you see afterwards
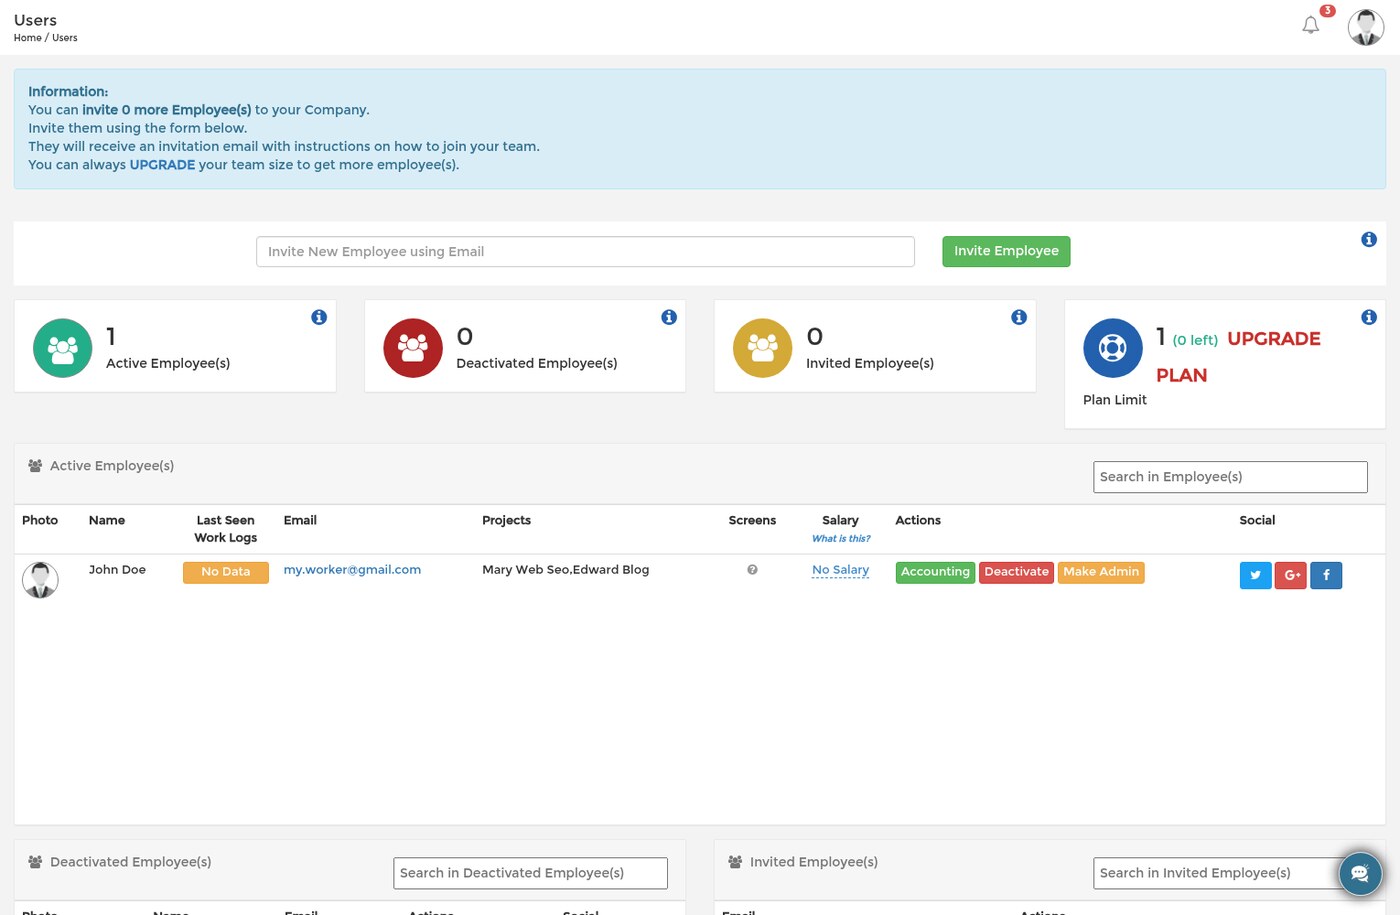
Under Users you are your own single employee, with your projects next to your name. Your time and screenshots appear in the worklog as soon as the app runs.
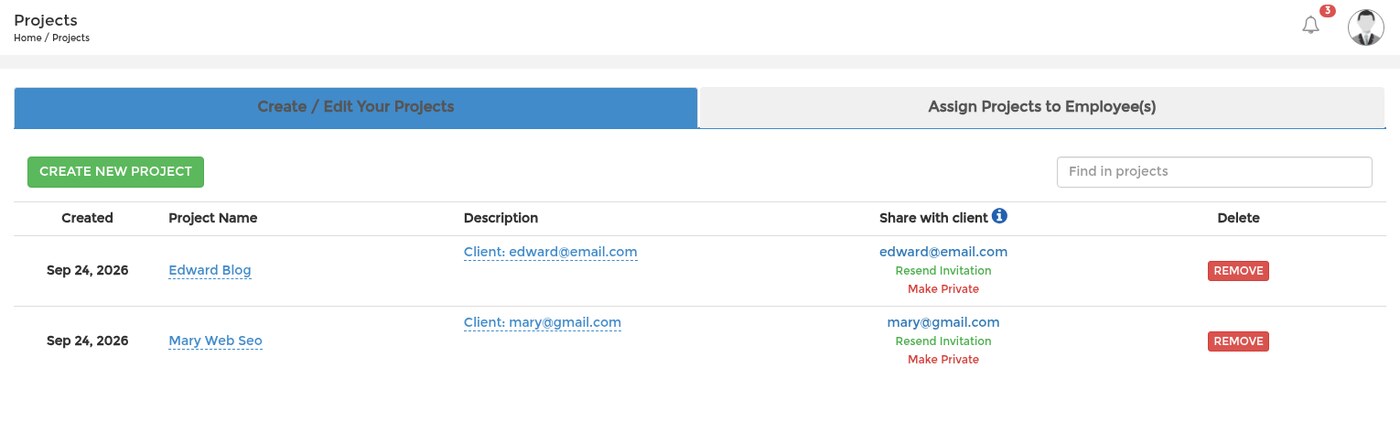
Under Projects each client's project shows who it is shared with, with Resend Invitation and Make Private next to it.
Signing in to the app
Open the app and sign in with the second address and the password from the review step. Pick the client's project and start. When you need the app again, on a new computer for instance, see Getting the App Again.